iPhoneで文字を入力してもらうときにはUITextFieldかUITextViewを使います。 UITextFieldとUITextViewはUITextInputTraitsプロトコルを継承していて、プロパティをちょっと変えるだけでいろいろと細かい設定ができます。
iPhoneの画面は狭いので、文字入力をするときにこのあたりのことを注意するようにすると、ユーザーの使い勝手がちょっとよくなりますよ。 (2012/03/31 iOS 5.0で追加されたUIKeyboardTypeTwitterを追記しました。)
まずはUITextFieldを作ってみる
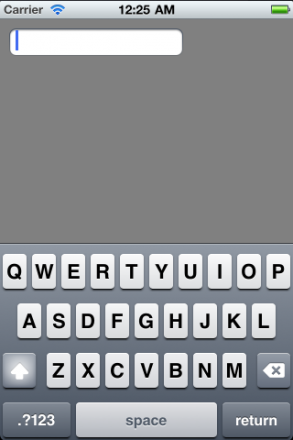
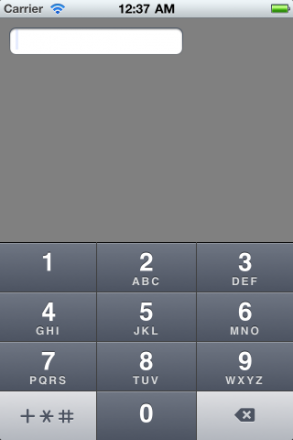
まずはテキストフィールドの作成。 普通につくると、こんな感じのキーボードが表示されて文字が入力できます。 (図はクリックすると拡大します。)
UITextField* inputText = [[[UITextField alloc] initWithFrame:CGRectMake(10,10,190,30)] autorelease];
inputText.borderStyle = UITextBorderStyleRoundedRect;
キーボードのReturnキーを変える
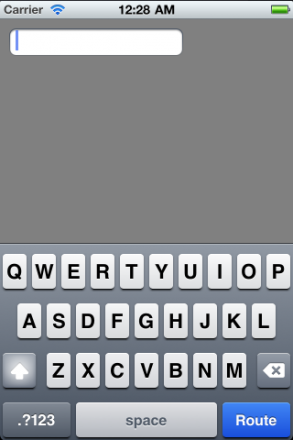
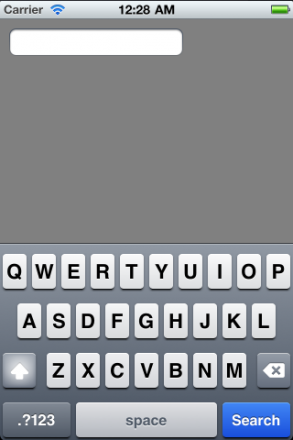
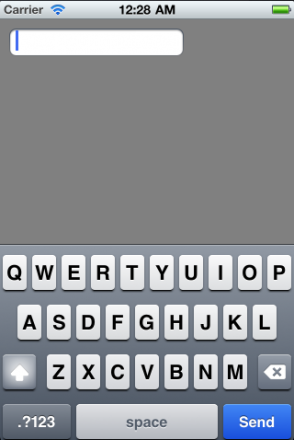
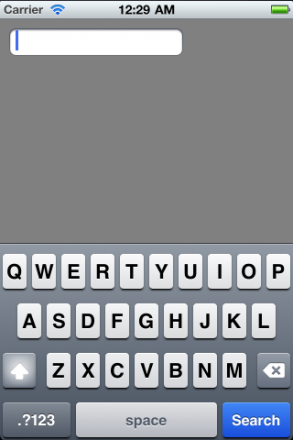
まずは、キーボードの右下にあるReturnキーをちょっと変えてみましょう。 キーボードのキーを変更するには、UITextFieldのreturnKeyTypeプロパティを変更。 こちらのenumから選んでください。
typedef enum {
    UIReturnKeyDefault,
    UIReturnKeyGo,
    UIReturnKeyGoogle,
    UIReturnKeyJoin,
    UIReturnKeyNext,
    UIReturnKeyRoute,
    UIReturnKeySearch,
    UIReturnKeySend,
    UIReturnKeyYahoo,
    UIReturnKeyDone,
    UIReturnKeyEmergencyCall,
} UIReturnKeyType;
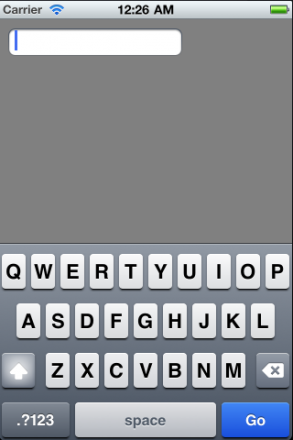
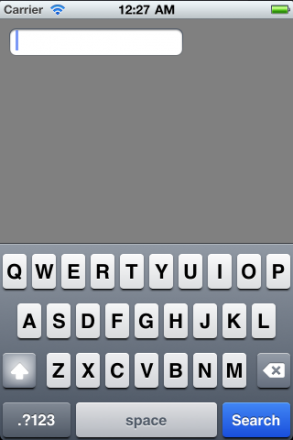
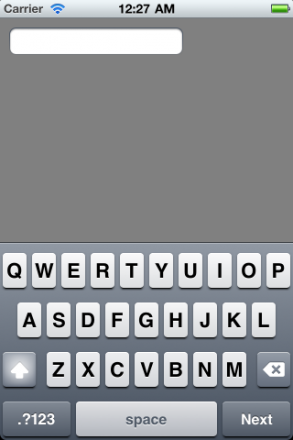
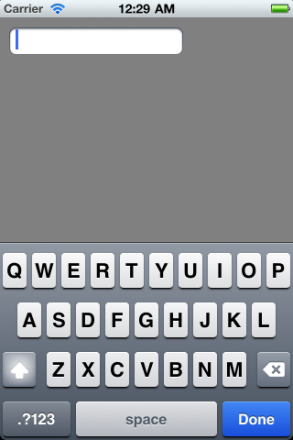
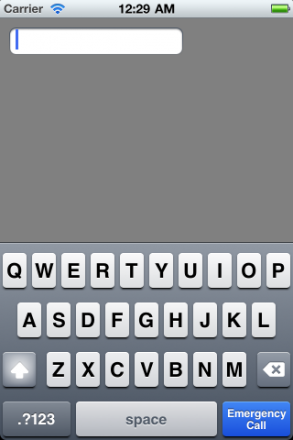
それぞれのenumを指定した時に表示されるキーボードはこうなります。 (画面は英語の場合です。iPhoneの言語が日本語の場合、多少表示が違います。)
inputText.returnKeyType = UIReturnKeyGo;
inputText.returnKeyType = UIReturnKeyGoogle;
inputText.returnKeyType = UIReturnKeyJoin;
inputText.returnKeyType = UIReturnKeyNext;
inputText.returnKeyType = UIReturnKeyRoute;
inputText.returnKeyType = UIReturnKeySearch;
inputText.returnKeyType = UIReturnKeySend;
inputText.returnKeyType = UIReturnKeyYahoo;
inputText.returnKeyType = UIReturnKeyDone;
inputText.returnKeyType = UIReturnKeyEmergencyCall;
キーボードの種類を変える
次はキーボードの種類を変えてみます。 UITextFieldのkeyboardTypeを変えると 特に、入力するデータがメールアドレスやURLなどの特定の文字を使う時にはとても便利です。 こちらの選択肢から。
typedef enum {
    UIKeyboardTypeDefault,                // Default type for the current input method.
    UIKeyboardTypeASCIICapable,           // Displays a keyboard which can enter ASCII characters, non-ASCII keyboards remain active
    UIKeyboardTypeNumbersAndPunctuation,  // Numbers and assorted punctuation.
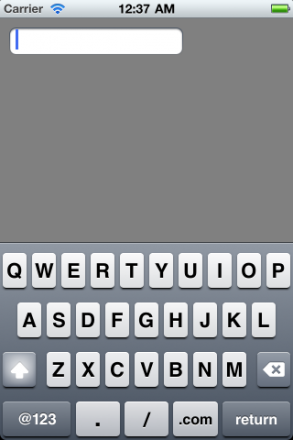
    UIKeyboardTypeURL,                    // A type optimized for URL entry (shows . / .com prominently).
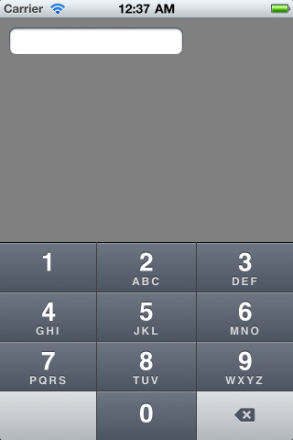
    UIKeyboardTypeNumberPad,              // A number pad (0-9). Suitable for PIN entry.
    UIKeyboardTypePhonePad,               // A phone pad (1-9, *, 0, #, with letters under the numbers).
    UIKeyboardTypeNamePhonePad,           // A type optimized for entering a person's name or phone number.
    UIKeyboardTypeEmailAddress,           // A type optimized for multiple email address entry (shows space @ . prominently).
    UIKeyboardTypeDecimalPad,             // A number pad with a decimal point.
    UIKeyboardTypeTwitter,                // A type optimized for twitter text entry (easy access to @ #)

} UIKeyboardType;
それぞれのenumで表示されるキーボードはこうなります。 (画面は英語の場合です。iPhoneの言語が日本語の場合、多少表示が違います。)
inputText.keyboardType = UIKeyboardTypeASCIICapable;
 UIKeyboardTypeASCIICapableの場合。
inputText.keyboardType = UIKeyboardTypeNumbersAndPunctuation;
 UIKeyboardTypeNumbersAndPunctuationの場合。
inputText.keyboardType = UIKeyboardTypeURL;
inputText.keyboardType = UIKeyboardTypeNumberPad;
inputText.keyboardType = UIKeyboardTypePhonePad;
inputText.keyboardType = UIKeyboardTypeNamePhonePad;
 UIKeyboardTypeNamePhonePadの場合。
inputText.keyboardType = UIKeyboardTypeEmailAddress;
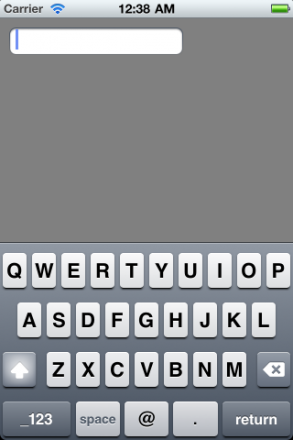 UIKeyboardTypeEmailAddressの場合。
inputText.keyboardType = UIKeyboardTypeDecimalPad;
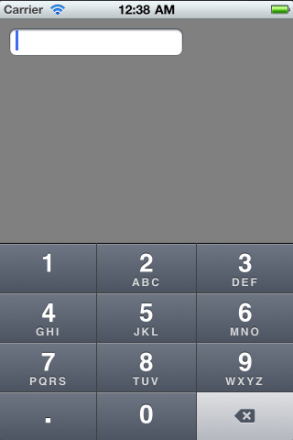 UIKeyboardTypeDecimalPadの場合。(ただし、このキーボードはiOS 4.1 以上のみ。)
inputText.keyboardType = UIKeyboardTypeTwitter;
 UIKeyboardTypeTwitterの場合。(ただし、このキーボードはiOS 5.0 以上のみ。)
UITextFieldでキーボードを簡単に閉じる
さて、上でreturnKeyTypeを設定してReturnキーの表示を「Done」に変えても、そのままでは「Done」ボタンを押したときにキーボードが閉じてくれるわけではありません。 キーボードのReturnキーを押されたときの挙動を定義する必要があります。
まずはUITextFieldのdelegateをselfに設定。
inputText.returnKeyType = UIReturnKeyDone;
inputText.delegate = self;
そして、self(通常はUIViewControllerでしょう)にtextFieldShouldReturnを実装して、そのなかでresignFirstResponderを呼ぶと、Returnキーを押されたときにキーボードが閉じるようになります。
- (BOOL)textFieldShouldReturn:(UITextField *)textField {
    [textField resignFirstResponder];
    return YES;
}
もちろんキーボードを閉じる以外の処理をすることも可能です。
そして、textFieldShouldReturnを実装したクラスにはこんな感じ↓でUITextFieldDelegateをつけておいてください。
@interface MyViewController : UIViewController<UITextFieldDelegate>{
}
キーボードに閉じるボタンをつける
UITextFieldでキーボードを閉じたいときには上の方法が使えますが、複数行のテキストを使うときにはこの方法は使えません。 複数行のテキストの編集にはUITextViewを使いますが、Returnキーでキーボードを閉じるようにしてしまうと、改行ができなくなってしまいます。
UITextViewの場合には、accessoryViewを設定して、キーボードの上に閉じるボタンをつけましょう。(あ、この画面ではUITextViewでなくてUITextFieldを使ってますが……。)
   UIView* accessoryView =[[[UIView alloc] initWithFrame:CGRectMake(0,0,320,50)] autorelease];
    accessoryView.backgroundColor = [UIColor whiteColor];

    // ボタンを作成する。
    UIButton* closeButton = [UIButton buttonWithType:UIButtonTypeRoundedRect];
    closeButton.frame = CGRectMake(210,10,100,30);
    [closeButton setTitle:@"閉じる" forState:UIControlStateNormal];
    // ボタンを押したときによばれる動作を設定する。
    [closeButton addTarget:self action:@selector(closeKeyboard:) forControlEvents:UIControlEventTouchUpInside];
    // ボタンをViewに貼る
    [accessoryView addSubview:closeButton];

    inputText.inputAccessoryView = accessoryView;
closeKeyboardメソッドはこちらで定義。
-(void)closeKeyboard:(id)sender{
    [inputText resignFirstResponder];
}
accessaryViewの上にはCloseボタンだけではなくて、「Prev/Next」ボタンやなど、ユーザーの入力の補助になるようなボタンをいろいろおくことができます。 Viewの色を[UIColor clearColor]にしておけば、ボタンだけを表示することもできるので、いろいろ凝ったデザインのものをつくってみても素敵だと思います。 個人的にはNoticaというアプリのこのaccessaryViewがさりげなくてお気に入りです。
